Did you know that travelers spend about six hours planning their trips? There are many things to arrange, like flights and itineraries. Being organized is key for a hassle-free journey. Your iPhone has features and apps that make organizing simple. From handling flight details to managing travel guides, your iPhone is a great helper.
Key Takeaways:
- Using your iPhone’s airplane mode and cellular data settings can help comply with airline requirements and minimize cellular charges while traveling.
- The Maps app allows you to organize places into guides, making it easy to reference during your trip.
- You can share, edit, and remove guides in the Maps app, allowing for easy collaboration and customization.
- Utilizing apps like Dropbox, Notes, and iBooks can help you store and access travel-related documents and information.
- Taking photos of maps and using travel apps can provide visual references and assist in managing your trip.
Airplane Mode and Cellular Data Settings
When you’re on the go with your iPhone, knowing about airplane mode and cellular data is key. This knowledge ensures you follow airline rules and stay clear of unnecessary costs.
Let’s dive into how you can master these settings for smooth travels.
Enabling Airplane Mode
One cool thing about the iPhone is flipping it to airplane mode with ease. This mode turns off Wi-Fi and Bluetooth, cutting ties with networks and calls. To switch it on, just hit the Airplane Mode icon in Control Center.
This turns off Wi-Fi and Bluetooth but you can still run some apps.
Using Wi-Fi and Bluetooth in Airplane Mode
Certain airlines let you use Wi-Fi and Bluetooth in airplane mode. To do this, turn on airplane mode and then hit the Wi-Fi or Bluetooth icons. Yet, remember these may stay on when you next use airplane mode.
Always turn them off manually in Control Center when needed.
Minimizing Cellular Charges
To cut down on cellular costs while abroad, adjust your iPhone’s data settings. Turn off data for specific apps or shut off cellular data to save. Simply go to Settings, select Cellular, and tweak data usage as you like.
| Recommendation | Steps |
|---|---|
| Enable Airplane Mode | Open Control Center and tap on the Airplane Mode icon. |
| Use Wi-Fi or Bluetooth in Airplane Mode (if allowed by the airline) | Open Control Center, turn on airplane mode, and tap on the Wi-Fi or Bluetooth icons to activate them. |
| Minimize Cellular Charges | Navigate to Settings, select Cellular, and manage data usage for specific apps. |
Using Wi-Fi and Bluetooth in Airplane Mode
If you often fly and have an iPhone, you might wonder about using Wi-Fi or Bluetooth in airplane mode. Luckily, some airlines allow you to turn these features on. This means you can stay connected or use specific devices while flying.
Here’s how you can use Wi-Fi or Bluetooth in airplane mode:
- Open Control Center on your iPhone.
- Tap on the airplane mode icon to enable airplane mode.
- Once airplane mode is enabled, both Wi-Fi and Bluetooth icons will appear off.
- To use Wi-Fi, tap on the Wi-Fi icon in Control Center.
- For Bluetooth, tap on the Bluetooth icon.
Remember, if you turn on Wi-Fi or Bluetooth in airplane mode, they might stay on when you use airplane mode again. You’ll have to turn them off manually in Control Center if you don’t want them on.
Using Wi-Fi or Bluetooth in airplane mode can be handy. You might want to join an in-flight Wi-Fi network. Or maybe you wish to use Bluetooth headphones. But, make sure to check with your airline first. They’ll tell you if it’s okay and won’t mess with the plane.
Organizing Places in the Maps App
The Maps app on your iPhone helps you organize places and make personal travel guides. It’s great for exploring new cities or planning vacations. You can find and navigate to places you want to go easily.
To start organizing your places, here are a few steps:
- Open the Maps app on your iPhone.
- Look for a place or browse the map to find one you want to add to your guide.
- When you find it, tap on it to see more details.
- In the information card for the place, scroll down and click “New Guide”.
- Name your guide, like “Vacation in New York,” and hit “Create.”
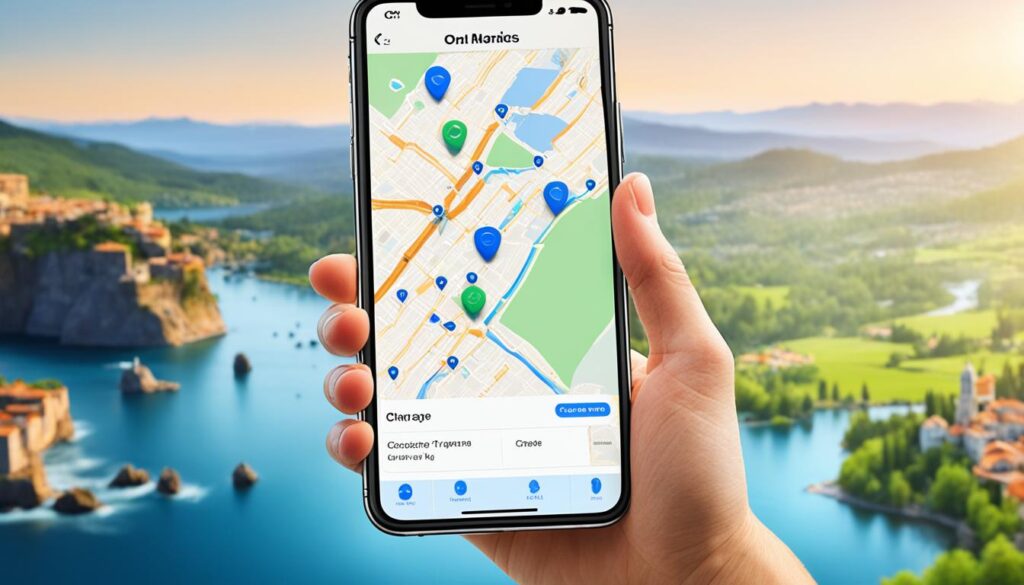
Creating a guide lets you put all the places you want to visit in one spot. This helps you plan your trip and easily get to each place.
If you find more interesting places in the Maps app, you can add them to your guide. Just tap the place’s icon on the map or in search results, and choose “Add to Guides.” This way, your guide grows and changes as you like.
“The Maps app has changed how I plan my travels. I make guides for my trips and add places I want to see. It helps me see my whole trip plan and makes getting around simpler.” – Jane, frequent traveler
With the Maps app, organizing your travel spots is easy. No more paper maps or long itineraries. Enjoy planning your trips digitally.
Sharing Guides in the Maps App
When you use the Maps app on your iPhone, creating and sharing custom guides is easy. This feature is great for making travel plans with friends or family. It helps everyone know what’s up when exploring new places together.
To share a guide, just follow these simple steps:
- Tap on your picture or initials at the top right of the search card.
- Then tap on “Guides” to see your created guides.
- Pick the guide you wish to share.
- Click the share icon at the guide card’s bottom.
- Choose how you want to share it, like through messaging, social media, or email.
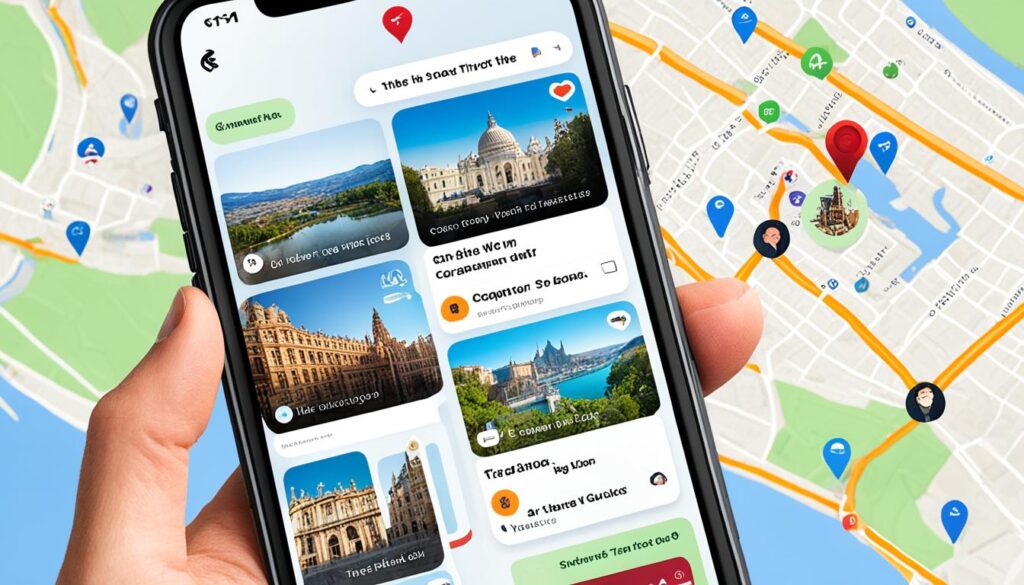
Sharing your guide can help travelers, friends on similar trips, or locals with great tips. The Maps app’s sharing feature lets you exchange travel tips quickly and easily.
With the Maps app, sharing is more than just giving out info. You can share interactive maps, places to see, and tips about different spots. It makes trips better for everyone.
Benefits of Sharing Guides in the Maps App
There are many good things about sharing guides in the Maps app for travelers:
- Seamless coordination: Shared guides keep your travel group in the loop. This makes sticking to plans and seeing all the top spots easier.
- Collaborative trip planning: Everyone can add their ideas and tips when they have access to a guide. This results in a travel plan that fits all preferences.
- Real-time updates: Sharing a guide means everyone gets updates quickly. This keeps all travelers in the know.
- Interactive exploration: Recipients can discover places through interactive maps. This makes exploring more fun and immersive.
- Convenient reference: Shared guides offer all the info you need, from dining spots to transport options, all in one place for easy access.
Testimonials from Travelers
“Sharing guides in the Maps app was a game-changer for our group trip. We made a detailed itinerary and shared it easily. This made coordinating our activities smooth and made sure we didn’t miss great spots.” – Sarah, avid traveler
“I love sharing my travel guides with family and friends through the Maps app. It’s super easy and makes planning trips together simple. We can all add to the itinerary and access all info easily.” – Mark, frequent traveler
| Benefits of Sharing Guides in the Maps App | Testimonials from Travelers |
|---|---|
|
|
Editing Guides in the Maps App
If you’ve created a guide in the Maps app, you can customize and edit it. You can update it to suit your travel needs. Here’s how to easily edit your guides:
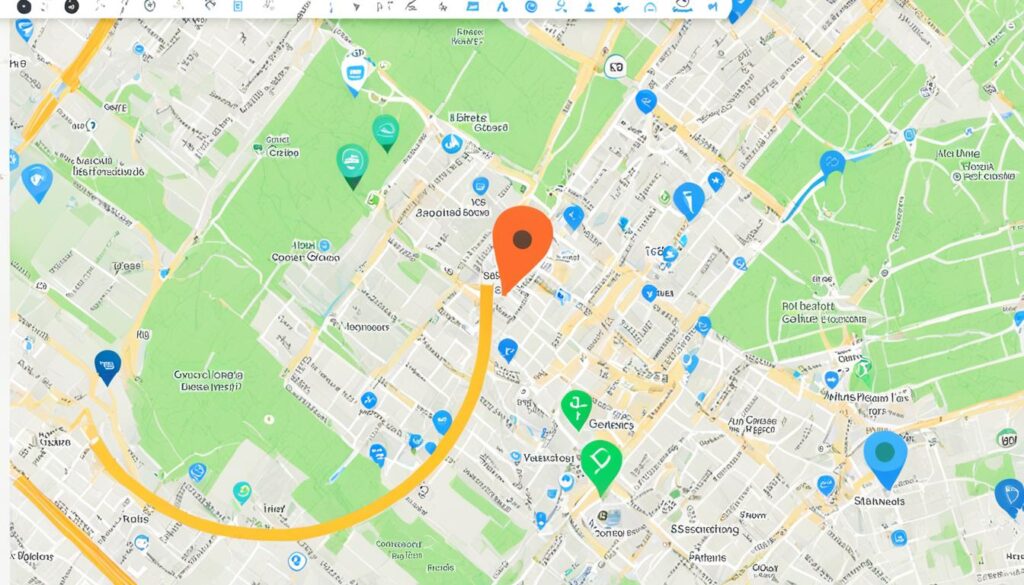
Step 1: Accessing Your Guides
To start editing your guides, tap your picture or initials at the search card’s top right. You’ll see a menu of options.
Step 2: Select the Guide to Edit
In the menu, click the “Guides” option. You’ll see all the guides you’ve created.
- Click on the guide you want to edit.
- You’ll then see the guide card with all info and places in it.
Step 3: Making Changes
Find the “Edit” button at the guide card’s bottom. Click it to start editing.
In edit mode, you can customize your guide in several ways:
- To add a cover image, click the “Add Cover Image” option.
- For a new title, tap the current title and type in a new one.
- To add places, click “Add Place” and search. Swipe left on a place card and click “Delete” to remove it.
When done, click “Done” to save your changes.
Your guide is now updated. Editing guides in the Maps app lets you customize them for your trips.
Removing Guides in the Maps App
Removing a guide in the Maps app is easy. Just follow these simple steps:
- Tap on your picture or initials at the top right of the search card.
- Select “Guides” from the menu.
- At the bottom of the screen, tap on “Edit”.
- Choose the guide you want to remove.
- Tap “Delete” to confirm.
You can swipe left on a guide in “My Guides” and tap “Delete” to remove it. This keeps your Maps app neat and organized.
Why Remove Guides?
“Deleting travel guides that are no longer needed helps declutter your Maps app. It makes navigating your remaining guides easier.” – Travel Enthusiast
Removing guides you don’t need makes it easier to focus on important ones for your trips. It’s a simple way to streamline your travel plans.
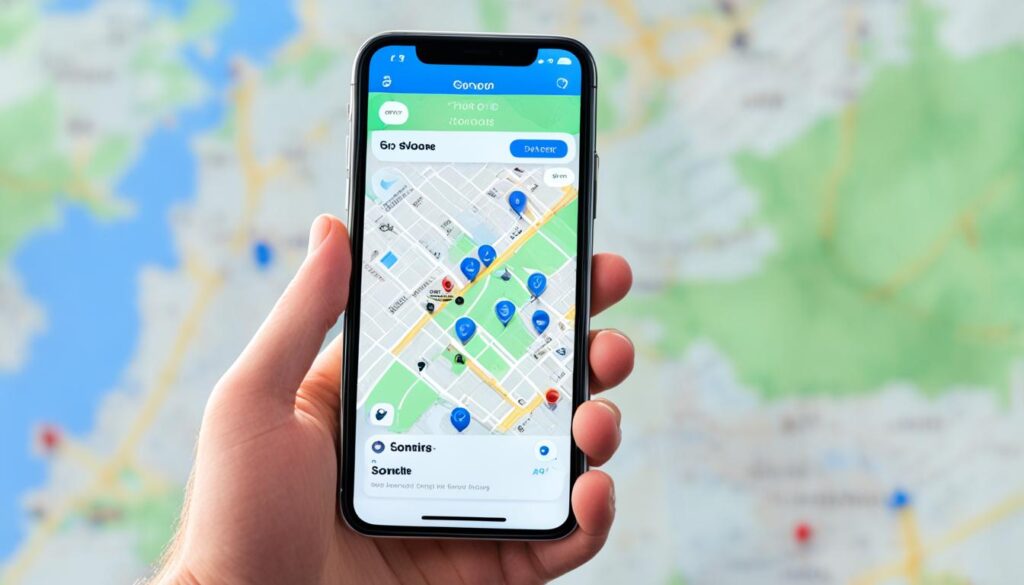
Before and After
Here’s what your Maps app might look like before and after you declutter:
| Before | After |
|---|---|
|
|
By removing unwanted guides, your Maps app becomes clearer. This makes travel planning smoother and more enjoyable.
Organizing Travel Information on iPhone
Planning your travels with your iPhone makes trips fun and stress-free. Many apps and features help manage your trip details easily. Here are handy tips and tools for keeping travel info organized on your iPhone.
Cloud Storage Services
Using cloud storage services like Dropbox or SkyDrive is a great idea. Upload your travel documents and important websites to the cloud. Then, access them anywhere with internet. Just download the Dropbox app, create a trip folder, and upload your files. You’ll have all vital travel info ready.
Notes App for Itineraries
The iPhone’s Notes app is perfect for organizing itineraries. Make separate notes for flights, hotels, and sights. Include reservation numbers, addresses, and contacts. Everything you need will be neatly organized in one spot.
Travel Organization Apps
For iPhone users, there are special travel organization apps. Tripit and iBooks are two top choices. Tripit stores all plans in one place, like flights and hotel bookings. It also syncs with your email for easy itinerary making. iBooks is great for storing travel guides and maps. Download guides and use them offline while traveling.
Image: Organizing_Travel_Information
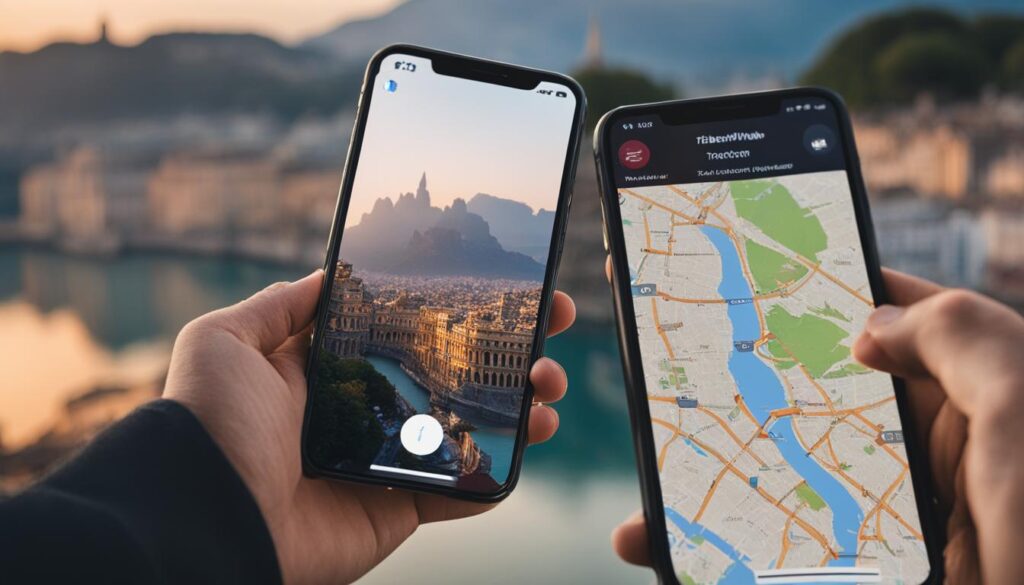
These methods make organizing travel info on your iPhone easy. Whether using cloud storage, Notes, or specific apps, choosing the best method for you is crucial. This ensures all your travel details are at your fingertips. No more searching through paper. Enjoy a streamlined, worry-free travel experience with your iPhone.
Using Dropbox and Notes for Travel Organization
iPhone users have found great success organizing travel with the Dropbox and Notes apps. These tools provide seamless access to important information. This makes journeys well-organized and hassle-free.
Dropbox:
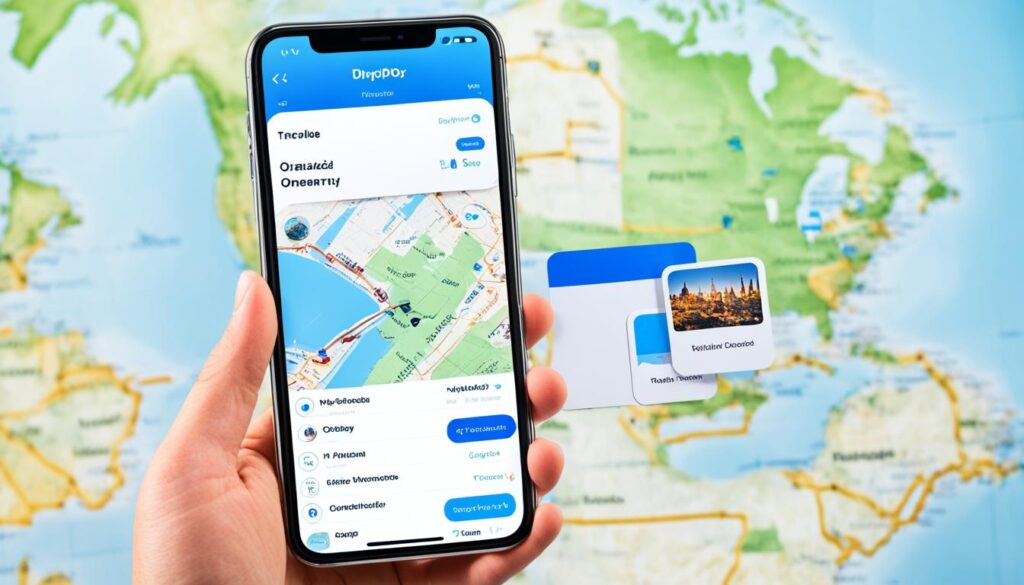
Dropbox is great for storing and accessing travel documents in the cloud. You can add flight details, hotel bookings, and guides to a special folder. This makes it easy to access your documents anytime, helping you travel with ease.
Notes App:
The Notes app helps plan your trip with detailed notes. You can include links, list top sights, local eateries, and key contacts. These notes are even available offline, perfect for places without internet.
Dropbox and the Notes app keep your travel info organized and within reach. No more searching through emails or carrying paper. Enjoy the simplicity and efficiency of these iPhone features.
| Benefits of using Dropbox for travel organization | Benefits of using the Notes app for trip planning |
|---|---|
| – Easy file storage and access | – Ability to create detailed, hyperlinked notes |
| – Seamless integration with other apps and devices | – Accessible offline, even in areas with limited connectivity |
| – Eliminates the need for carrying physical copies of documents | – Customizable formatting options for personalized organization |
| – Provides peace of mind with secure cloud storage | – Efficient collaboration with others for shared trip planning |
Creating Web Pages and PDFs for Accessing Travel Information
Creating web pages and PDFs can change how you access travel info on the move. These tools let travelers have all key details on hand, even without the internet. It’s great for those making their own travel guides.
Adding hyperlinks in these documents makes navigation quick and easy. Hyperlinks let you jump to more info like restaurant lists or attraction maps. This means less time searching and more time exploring.
Using these documents on an iPhone is easy. Just tap to open and view them. This is very helpful for travelers without constant internet access.
Including web pages and PDFs in your travel toolkit means always having important info, even offline.
Making a travel web page or PDF is straightforward. You can gather all your info in one place. Many online tools offer easy ways to customize your documents. This makes them both useful and good-looking.
Benefits of Creating Web Pages and PDFs for Travel Organization
Why make web pages or PDFs for travel? Here are some benefits:
- Offline Access: Save them on iPhones to access vital info anytime, perfect for remote travels or avoiding data charges.
- Centralized Information: Keep all important travel details in one spot. This makes planning and organizing much simpler.
- Customization: Tailor your travel resources to fit your needs. Only include what matters to you.
- Easy Sharing: Share your travel documents with friends or family easily. This helps everyone stay informed and coordinated.
Example: Creating a Web Page for Travel Organization
Let’s look at how to create a web page for a trip to Paris. This will help you keep all your trip info easy to use and find.
| Section | Content |
|---|---|
| Flights | Flight reservation details, including airline, departure times, and confirmation number. |
| Accommodation | Name and contact information for the hotel, reservation dates, and any special instructions or requests. |
| Itinerary | A detailed day-by-day plan, including tours, attractions, and recommended restaurants. |
| Transportation | Information on public transportation options, such as metro lines and bus routes. |
| Useful Contacts | Contact information for the local embassy, emergency services, or any other relevant contacts. |
This example shows a clear way to organize a web page for travel. You can add hyperlinks to each section for quicker access to details.
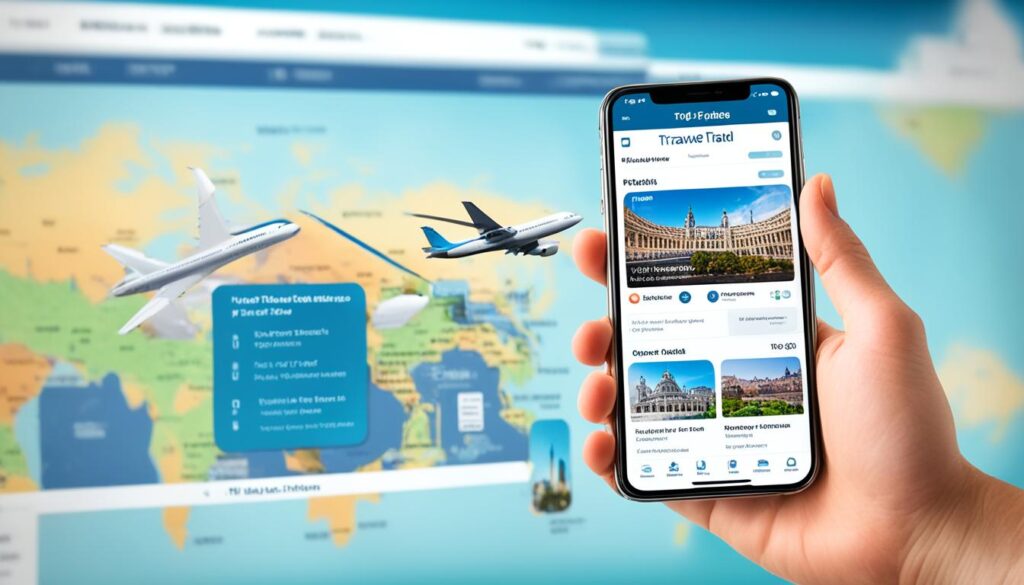
In conclusion, web pages and PDFs help make travel planning easy and flexible. They’re great for both detailed planners and those who like to go with the flow. Having all your info in one place can make your trip better. So, think about using web pages and PDFs for your next trip!
Using Photos and Apps for Accessing Travel Information
There are many ways to access travel information on your iPhone. One effective method is using photos. You can take pictures of maps, guidebook pages, and other important info to look at offline. This helps you quickly find the details you need while traveling.
Also, there are several travel apps that can make your trip better. These apps help organize your plans and make travel smoother. Let’s look at some useful travel apps:
- Tripit: Puts all your travel plans in one place. You can see flight, hotel, and car rental info easily.
- Food Network On The Go: Perfect for food lovers. It offers tips and reviews for local eats to enhance your trip.
- iBooks: Lets you carry travel guides and books on your phone. This keeps all the info you need right at your fingertips.
With the help of these apps on your iPhone, you’ll find trip planning easier. They provide tools to make your travel experience smoother and more organized.
Benefits of Using Photos and Apps for Accessing Travel Information
Using photos and apps for travel has several advantages:
- Offline Accessibility: You can see your travel info in photos and apps, even without the internet. This is super helpful in places with bad connection or to save data costs.
- Visual Reference: Photos help you remember maps and guides easily. They help you move through new places without getting lost and find cool spots without trouble.
- Streamlined Planning: Travel apps put all your trip details in one spot. They offer itineraries, eatery tips, and guidebooks to make planning faster and reduce stress.
- Convenience and Flexibility: Using your iPhone for trip info lets you tweak plans on the move. You can change itineraries, find places to eat, or discover new places whenever you want. This gives you freedom to make your trip what you desire.
Photos and travel apps make managing trip info on your iPhone better. They offer convenience and help make your travels more enjoyable and well-organized.
| Method | Benefits |
|---|---|
| Using Photos | Offline accessibility, visual reference |
| Travel Apps | Streamlined planning, convenience, flexibility |
Personalized Travel Information Organization
Organizing travel information isn’t one size fits all. Every traveler has unique needs and preferences. Some create their own system with apps, cloud, or offline documents. Others like the ease of Tripit. The goal is finding what works for you, making info easy to get when traveling.
The iPhone lets you plan your trip your way. You can use travel apps, store info in the cloud, or keep offline documents. It’s all about experimenting to find your best system.
Customizing trip planning on the iPhone can make travel smoother. You’ll have all essential info ready, whether you love apps, cloud storage, or offline docs. Pick the method that fits you and enjoy a journey free from stress.